
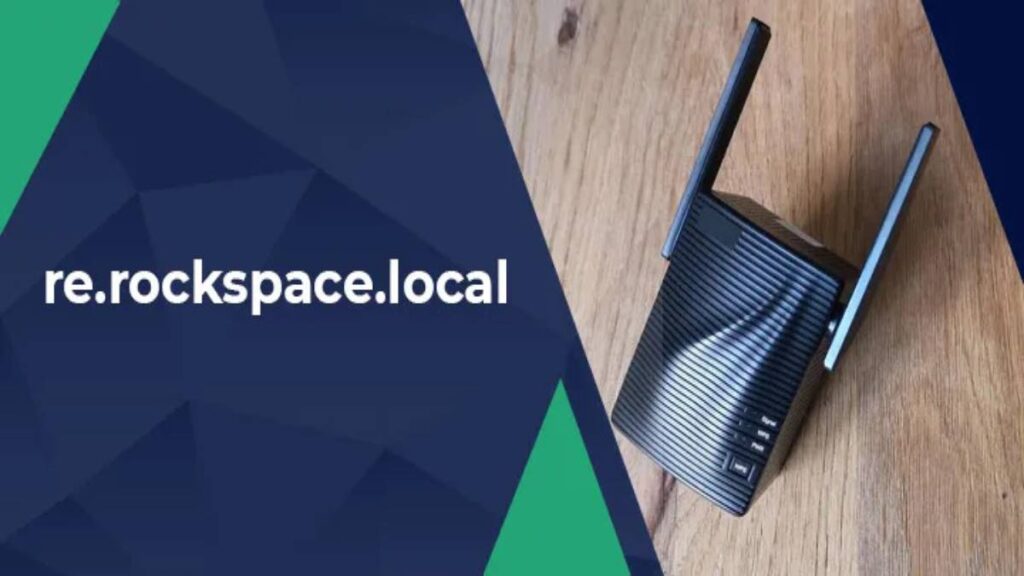
Rockspace wireless range extenders are used to eliminate the WiFi dead spots in the home. After the setup is done, you can enjoy its WiFi even in those areas of the home where you could not access the internet earlier. If you want to set up the extender or want to change its settings, you need to access its login page re.rockspace.local/login.html. In this piece of write-up, you will get information about how you can access the login page of your Rockspace wireless range extender in easy steps. You will also find tips that will help you avoid any issues during the login process.
Steps to Access Rockspace Extender Login Page
Step1: Connect the Devices
First of all, connect your Rockspace wireless range extender to the host router. You can connect them using an Ethernet cable. Use a good Ethernet cable. The cable that you are using should not be worn out or have cuts on it. Insert one end of the cable into the Ethernet port of the extender and the other end into the router’s Ethernet port. Ensure making a rock-solid connection between them.
Step2: Power Up devices
It is now time you turn on the devices. Connect them both into well-working wall outlets. Do not make use of damaged sockets and ensure no loose connection. Turn on the power buttons on both devices.The lights on them will turn solid after some time. This is when you know that the devices are powered up completely.
Step3: Turn on the Computer
After the devices are connected and powered up, you need to go ahead and grab your computer. You can also use a laptop. If the computer or laptop that you are using has not been updated to the latest version of OS, consider updating it right now to avoid messing up the login procedure.
Step4: Launch a Browser
Once the computer is booted up completely, you need to launch a search engine. You can use any browser or search engine to carry out this process. But ensure that the browser that you are using is updated. Also, clear the cache and junk files from the browser. You need to access its settings to update it as well as clean it.
Step5: Visit Login Web Adress
Now, in the updated web browser, you can do the login. So, in the address bar or the URL bar of the browser, type the login web address or the default IP address 192.168.0.254. Be sure of not making any typing mistakes while entering the login address. Once you have entered the address, you got to hit the Enter key on your keyboard. This step of yours will take you to the Rockspace extender login page.
Step6: Do the Login
On the login page that opens up, you will find two fields that you need to fill in using the username and password of the Rockspace account. If you are doing the login for the very first time, then you need to use the default login credentials. Before you type the credentials, check the Caps Lock key on your keyboard. It should be disabled. Also, make sure you are typing the username and password without making any typing mistakes. Clicking on the Login button will take you to the admin dashboard of the Rockspace extender.
The Final Note
We are sure you now got a good idea of how you can access the Rockspace extender login page. Once you are on the admin panel, you can make changes in the settings of your extender the way you desire.
Read more- Few Steps to Enable Nighthawk Router Guest Network Feature