
Victony extender is one of the best plug-and-play devices in the WiFi industry nowadays. If you are looking for a way to access the internet that isn’t just restricted to your room, then it is recommended that you perform Victony setup. Setting up an extender will receive the signals of your WiFi network and spread it to every nook of your house. In other words, you won’t have to worry about not being connected to the internet if you set up an extender in your house.
The steps of Victony setup are similar to the setup process of other extenders. However, many users still face issues while trying to set the device up. But, worry not. We won’t let you have the same fate. In this article, we’ve mentioned the step-by-step instructions that’ll help you in setting up an extender. Thus, without wasting any more time, read on.
Before you begin with the setup process, keep the following points in mind:
- Keep the Victony manual that came along with your device by your side.
- Make sure that your laptop/mobile phone is fully charged.
- Whatever Internet browser you usually use, upgrade it quickly.
Now that you’ve walked through the essentials, let’s get started with the Victony setup process.
Table of Contents
Steps to Perform Victony Set Up
There are two ways to configure the Victony WiFi range extender. One is by using the WPS button or via a web browser.
Using WPS Button
- Plug your Victony WiFi range extender into a wall socket and turn it on.
- Within a few seconds, the power LED gets stabilized.
- Now, press the WPS button on the Victony extender.
- After that, find the WPS button on the host router and hold it for some time.
- Confirm that the LED light is stable. If it is, then your Victony setup has been completed.
Once the set up done, you can place your wireless range extender to your desired location. But, in the range of the home router.
Using Web Browser
Mentioned below are the instructions that you need to follow to set up the Victony WiFi extender by accessing the ap.setup page:
Set Up the Hardware
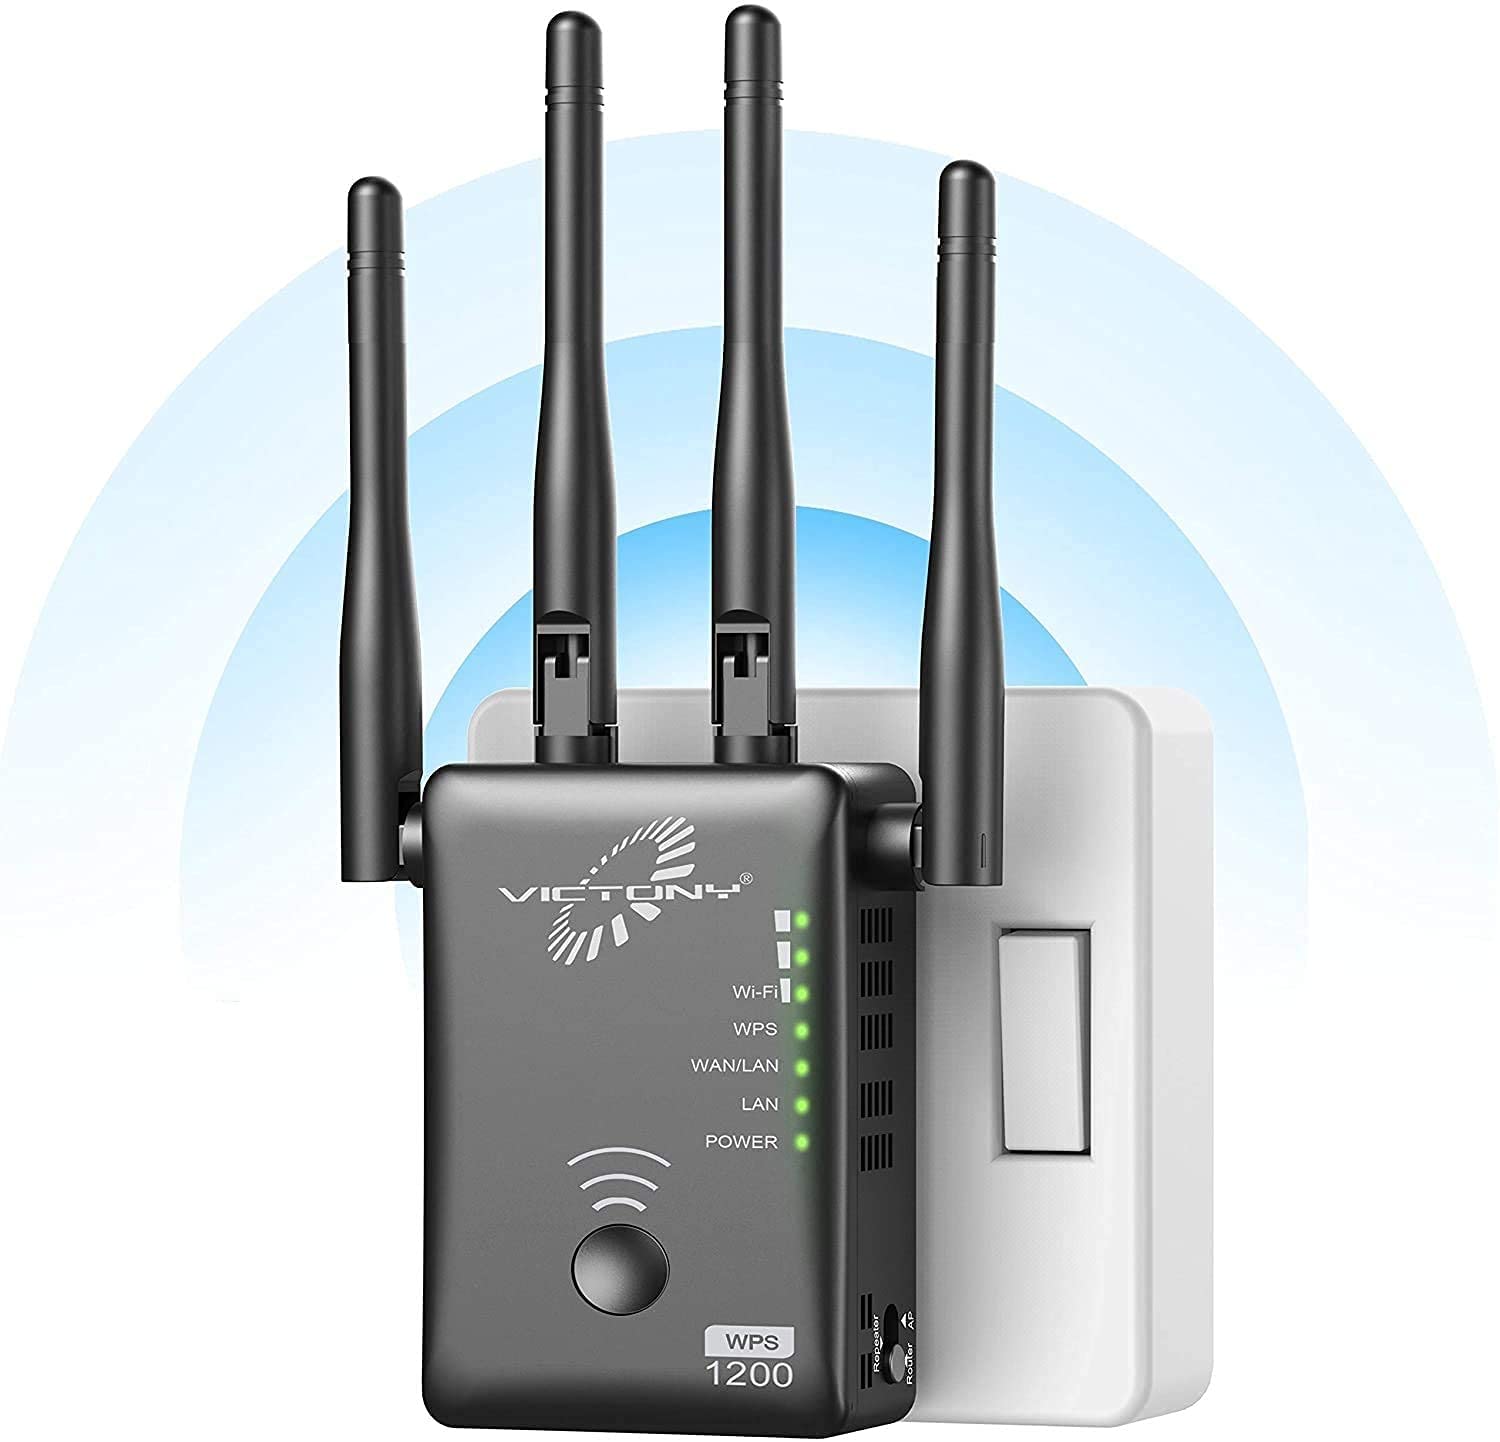
Unbox your Victony extender carefully. Make sure that no part gets damaged. After that, connect the antennas and place your extender near the WiFi router. Now, join the extender to the power adapter, then plug it into the wall socket. Here, power on your WiFi device and give the LED light some time to turn green.
Connect the Victony Extender and Router
Create a connection between the Victony extender and your host router.
To be on the safer side, connect your WiFi devices with an Ethernet cable.
To avoid any technical bug, confirm that the Ethernet cable is not defective. In case, it is then replace it immediately.
Keep both your device farther from physical obstructions.
Access ap.setup
Switch on your laptop and open a web browser on it. Now, type ap.setup in the location bar and click on the Enter button. To access the Victony setup page, fill in the default username and password in the given fields. You can look into the Victony WiFi extender manual to be certain of the default login credentials. Click on the OK button and follow the instructions displayed on your screen.
So, this is how to perform the Victony setup by accessing ap.setup.
Final Words
In this way, you can perform the Victony setup by accessing ap.setup. Now, you can connect your devices to the wireless network and enjoy a blazing-fast internet connection from every damn corner of your house.