Whenever you reset your Netgear range extender to the factory settings, you erase the current configuration settings on it. With this step, the default settings get restored on the device. You can reset your extender using the hard reset method or soft reset method by accessing the Netgear Genie setup page. There are many instances that may put you in a situation wherein you are forced to reset your extender. Some examples are intermittent internet from the extender, forgotten login password, troubleshooting some serious issue with it or you just want a fresh start.
It is recommended that you take the backup of your current configuration settings on your PC. After you have reset your device, you can simply restore the settings on your device and skip the entire process of manually making changes to the settings. This piece of write-up is meant to shed light on the process of taking backup and restoring the settings on the extender.
Table of Contents
How to Take Backup of Netgear Extender?
Step 1: Turn On Netgear Extender
While you are taking the backup of your Netgear extender, it should be powered up. Thus, plug the power adapter of the Netgear extender into an active wall socket and turn its power button on to supply power to the extender. Check the LEDs on it to see if it is powered up completely or not. Solid power light is an indication of the same.
Step 2: Connect Extender to Router
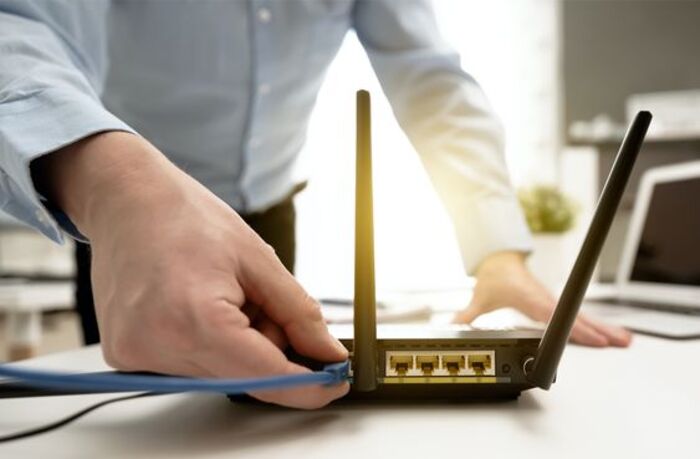
The next step in line is to connect the Netgear extender to the host router. You can get this job executed by connecting them using either a wired or a wireless source. We suggest you use an Ethernet cable and make a secure connection between the two devices.
Step 3: Access Netgear Genie Setup Page
It is now time you go to the Netgear admin dashboard or the Netgear Genie setup wizard. To do this, first power on your PC now and launch any preferred browser on it. It must however be running on the latest software version. Type mywifiext.net or the default IP address 192.168.1.250 in the URL bar of the browserand hit the Enter key. This will display the login page of the Netgear extender will be displayed. Now, input the login credentials in the given fields and click the Log In button and access the Netgear Genie setup page.
Step 4: Take Backup of the Current Settings
Once you reach the Netgear admin panel, click on the Settings option on the left side of the genie page. Thereafter, click on Other to open the Other Settings page. On this page, select the Backup button by clicking on it. Now, save the current configuration settings of your Netgear extender at any safe location on your PC.
Steps to Restore Netgear Extender Settings?
Let us now help you with the steps of restoring the configuration settings on your Netgear extender using the backup file saved on the PC. Here are the instructions:
- Turn on your Netgear WiFi range extender first.
- Also, power up the computer or laptop. Make sure you use the one on which you had saved the backup file previously.
- It is time to visit Netgear Genie setup wizard using a web browser. So, log in using the admin credentials and access the Netgear Genie page.
- Thereafter, click on Settings and then click on Other Settings to open the Other Settings page.
- Click on the button labeled Browse under the Restore option.
- Navigate to the Backup file saved and click on it.
- To restore the configuration settings, click on the Restore button.
- Click on Yes to confirm the restoration process.
- Soon the backup file will be restored on your Netgear wireless range extender.
In a Nutshell
This is all about how you can take the backup of the current configuration settings of your Netgear WiFi range extender. You have also learned about the process to restore the backup file on the device. We suggest you always have the backup of your favorite settings saved on your PC so that you can restore it whenever needed. One more thing that we would like to recommend is that you must always keep your Netgear range extender’s firmware updated to the most recent version. This will help you avoid many extender related issues and also enhance the performance of the device.

