
TP Link is a brand that distributes networking devices like routers, range extenders, mesh systems and modems. One of the best devices TP Link provides to the users is AC1200 WiFi router and RE650 range extender. Here, we will compare both of these network devices and what is the difference between their setup and features. Then, at the last of the article, we will discuss the combination of both the devices. So, let’s start without wasting any more time.
Table of Contents
Difference Between AC1200 And RE650
There are so much difference between the AC1200 router and RE650 range extender. Extender and router shares setup, shape, and configuration differences. Let’s start with the setup of the both of the devices.
TP-Link AC1200 Router Setup
You can easily complete the TP link AC1200 setup by following these simple steps written down below.
- The router must be connected to your modem to run the internet services in your home.
- Simply, place your TP Link router near to your cable modem and locate the WAN port of router and LAN port of modem.
- Take a network cable and insert it into the located ports.
- Then turn it on by the connecting the power cord to the power port and plugging its adaptor to the wall socket.
- Turn it on by pressing the power button that is given on the front of router.
- Now, connect a computer to the router and open the browser in your desktop.
- Then search the URL link that is given at the label of the router, you also find the username and password of the login interface.
- By searching the URL, you will reach at the login page interface of the router.
- Here, just enter the username and password, and then just hit the Enter key.
- By hitting the key, you get access of the interface, where you can adjust the setting and networks.
Now, let’s look at the process of the TP-Link RE650 extender installation.
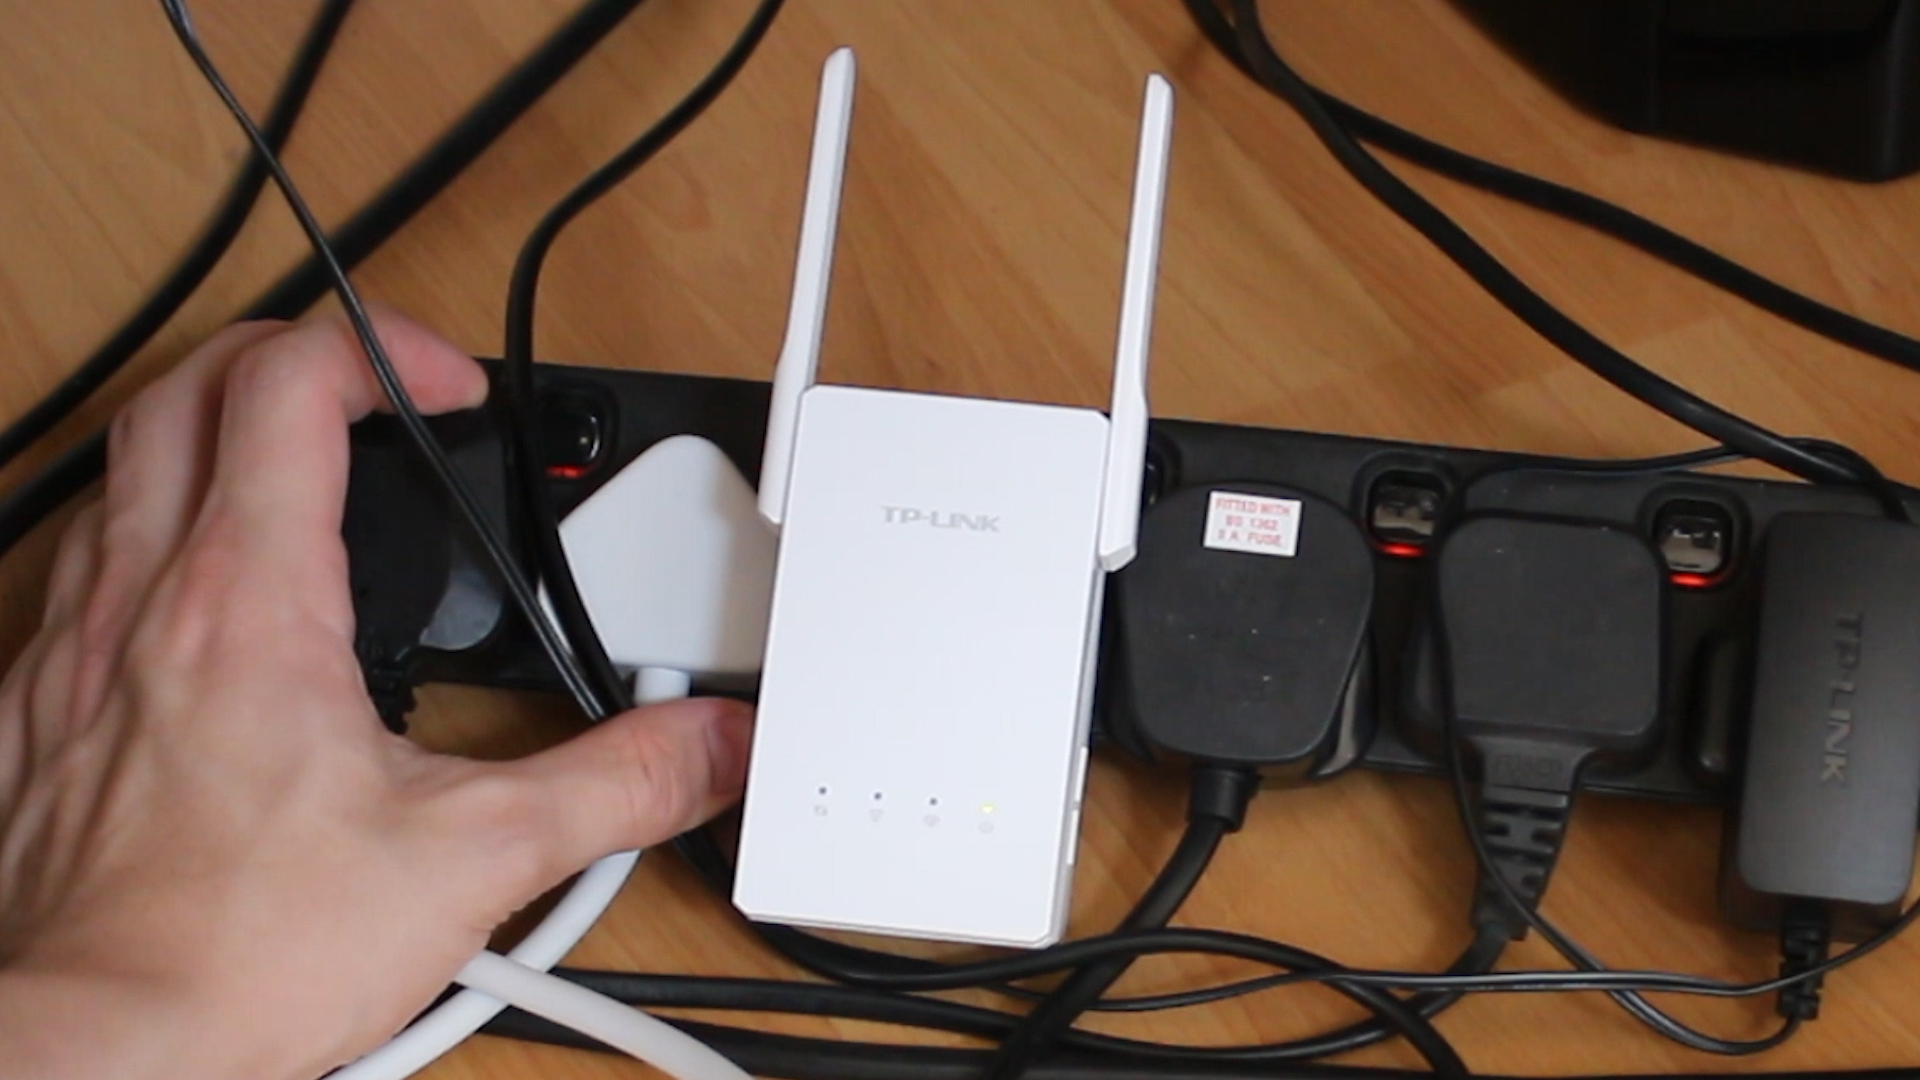
TP-Link RE650 Extender Setup
In this section, you will learn how to complete the TP-Link RE650 setup, let’s just skip to direct steps of the setup.
- The range extender should be connected to the router to run the extended network in your home.
- So, the first step of the installation is placing the extender close to the router and just connects it to the router via Ethernet.
- To connect the Ethernet cable, you should insert its ends to the WAN port of the extender and LAN port of the WiFi router.
- Now, just start the extender by plugging in the network device into the wall socket and pressing the power button.
- Then, you have to access the interface of the TP-Link range extender through your computer.
- Connect the computer and search the login IP address in the web browser.
- For that you have to find the login IP address and username and password on the label of the extender.
- You will reach the login interface page and enter the user credentials and then click on the NEXT button.
- You will get inside the interface of the extender in which you can easily configure the setting and networks.
You can combine the TP Link extender and WiFi router to make a fast and reliable network connection. Just connect them together via an Ethernet cable or WPS option or button wirelessly.
Ending Words
In above written article, you have read the difference between TP-Link extender and WiFi router. We have shared the router setup vs extender setup section. We hope you have planned to purchase both of the networking devices to expand the WiFi signals in your house.