
Netgear wireless range extenders rule the digital realm with their unparalleled WiFi performance. After a user is done with the New WiFi extender setup, the extender facilitates him with an extended network name that says Netgear_ext. FYI, it is the default WiFi name of your Netgear extender and is also known as SSID [Service Set Identifier]. Since it is the default network name of the extender, you can conclude that every Netgear WiFi extender has the same SSID. Therefore, it is necessary to change the Netgear extender WiFi network name [SSID].
It is because everything will become chaotic if the person living next to your house also owns a Netgear range extender and has not customized his network name. To avoid this from happening, we suggest you assign a unique name to your extender as soon as you complete its installation.
Changing the SSID is also necessary as its security standard is stronger than the difficult one. It will become a difficult task for an unauthorized user to steal your WiFi connection. Therefore, without keeping any doubt in your mind, read the instructions to change the network name of your wireless range extender.
Steps to Change Netgear Extender WiFi Network Name
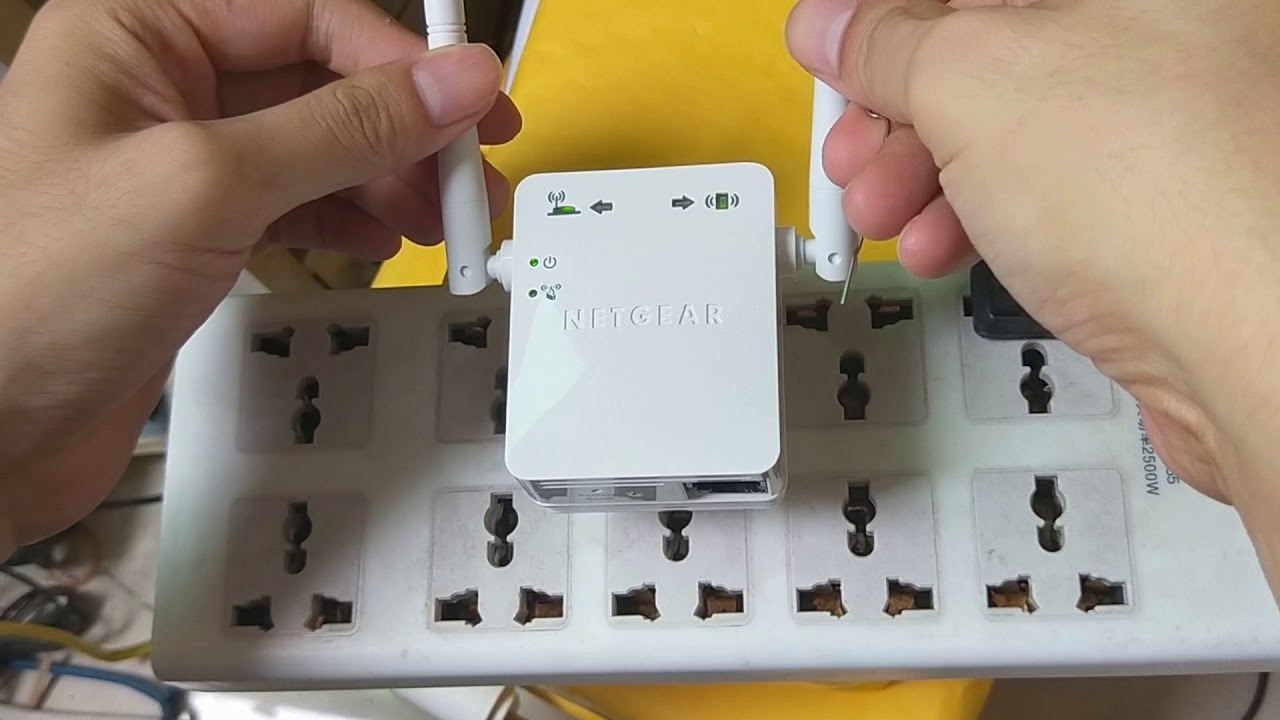
First of all, connect your range extender to the power outlet.
- Switch on the extender by locating the Power button and pressing it.
- After that, grab an Ethernet cable.
- Create a finger-tight connection between your extender and router via Ethernet ports.
- Done with the extender-router connection? Good! Power up your PC now.
- You can also take the assistance of a laptop.
- Thence, open a web browser and make your way to the address bar.
- Visit mywifiext.net [Windows] or mywifiext.local [iOS].
- As soon as the extender login window appears, type in the administration info.
- Press Enter or hit Log In.
- The Status page or the BASIC Home screen will reveal itself.
- Select Wireless Settings followed by Settings.
- Locate the option labeled SSID.
- Enter the network name you want your Netgear extender to have.
- Save the changes.
- You’re all set!
This is how one can change the SSID a.k.a. WiFi network name of a Netgear extender. We’re assuming that you’ll get successful with the process after following the aforementioned instructions. However, if you are unable to access mywifiext.net or mywifiext.local addresses, kindly use the mywifiext.net or 192.168.1.250 IP address. You will be able to access the extender’s management login window. In case you’re still having rotten luck, the next section is what you should focus on. It reveals what to do if you can’t assign a new network name to your Netgear range extender.
Can’t Change Netgear Extender WiFi Network Name?
Before trying anything else, power cycle your range extender. The process will help in providing some rest to the extender. All you have to do is power down the extender for a while and switch it on. In case of no luck, check out the fixes given below:
- Be sure that the Ethernet cable used for connecting networking devices is free of cuts.
- The Ethernet ports of your WiFi devices are supposed to be in a working state.
- The devices ought to be within each other’s range.
- You must enter the Netgear extender URL or IP address into the address bar only.
- Make sure that you are not committing any typos during the admin details entry.
- Consider upgrading the browser’s software version and clearing out the cache.
- Temporarily disable the antivirus program on the PC and try again.
- Verify that your device is accessing Netgear_ext.
- The computer or laptop used should not contain viruses.
Everything Considered
If we consider everything, it is clear that it is possible to change Netgear extender WiFi network name [SSID] via the web-based management utility. However, you might fail if you do not take care of certain factors mentioned in this post. With the hope of helping you out with the aforesaid instructions, we’re now signing off.
Read more– Arlo Camera Keeps Going Offline – Troubleshooting Guide